
Three easy (sort of) steps to breathing (or painting) life into Dungeonstone


Dungeonstone is the ultimate 3-D dungeon setup. It is affordable, strong, detailed, and consistently well made. To be fair, my latest purchases were 98% perfect. In one of the two sets, ONE piece seems a bit malformed, causing it to not fit perfectly as all the other pieces do. A defect I can CERTAINLY live with.
I have known about Dungeonstone from the very first time they were at OwlCon a number of years ago, and knew right away that I wanted it and also, that Lou would go VERY far with it. I finally purchased my first set, Deluxe Set at Space City Con last year and set it up, as purchased, in its plaster-white state. Since then, I have used it a bit, but haven't been running dungeon crawls. So I had it set up on display with various miniatures doing battle within it. Occasionally, I would add or move some of the inhabitants and imagine the battle that ensued. But there was something missing. I knew that when I went to OwlCon, I would see Dungeonstone again and that I wanted to purchase some complimentary sets. When I arrived at the Rice University campus and walked in with Nick and Julian - my sons, we registered and since I didn't have to schedule any more games, I headed straight to the dealer room, more specifically, straight to Dungeonstone. With a brief distraction by Lou Zocchi, I proceeded to complete my mission and purchased the Fountains and Wizard's Chamber to add to my Deluxe Set. Maybe THAT was what was missing, and my enthusiasm to run a dungeon crawl would be peaked.
Then, I saw it. Leo had a painted display. It was gorgeous.
THAT is what was missing!
I asked Leo some advice and he was (as always) gracious to share his knowledge. Here is the result:

I left the Fountains unpainted so you can see what I meant about "missing something."
Now, I know there is some inconsistency with the shading, etc. This was my first time attempting this, but it will all come together.
Here is a pictorial of the process:
Preparation: Lay out all of the tools and supplies you will need. I used a large cardboard sheet as a base and lined it with paper towel (which I will revise). I got my paint, brushes, sealer, coffee can, gloves and stirring paddle all set and ready to go, and layed out the Dungeonstone to make sure each piece would have a spot to dry.

Then, once set up, I employed the Three Easy Steps:
First: DIP
In the coffee can, I mixed 8oz. black paint to make two inches of mix in the can. I know that isn't accurate to the amount of water, but look at the coffee can and use the same type. Swirl the piece around to get into all the cracks.


Second: REDIP

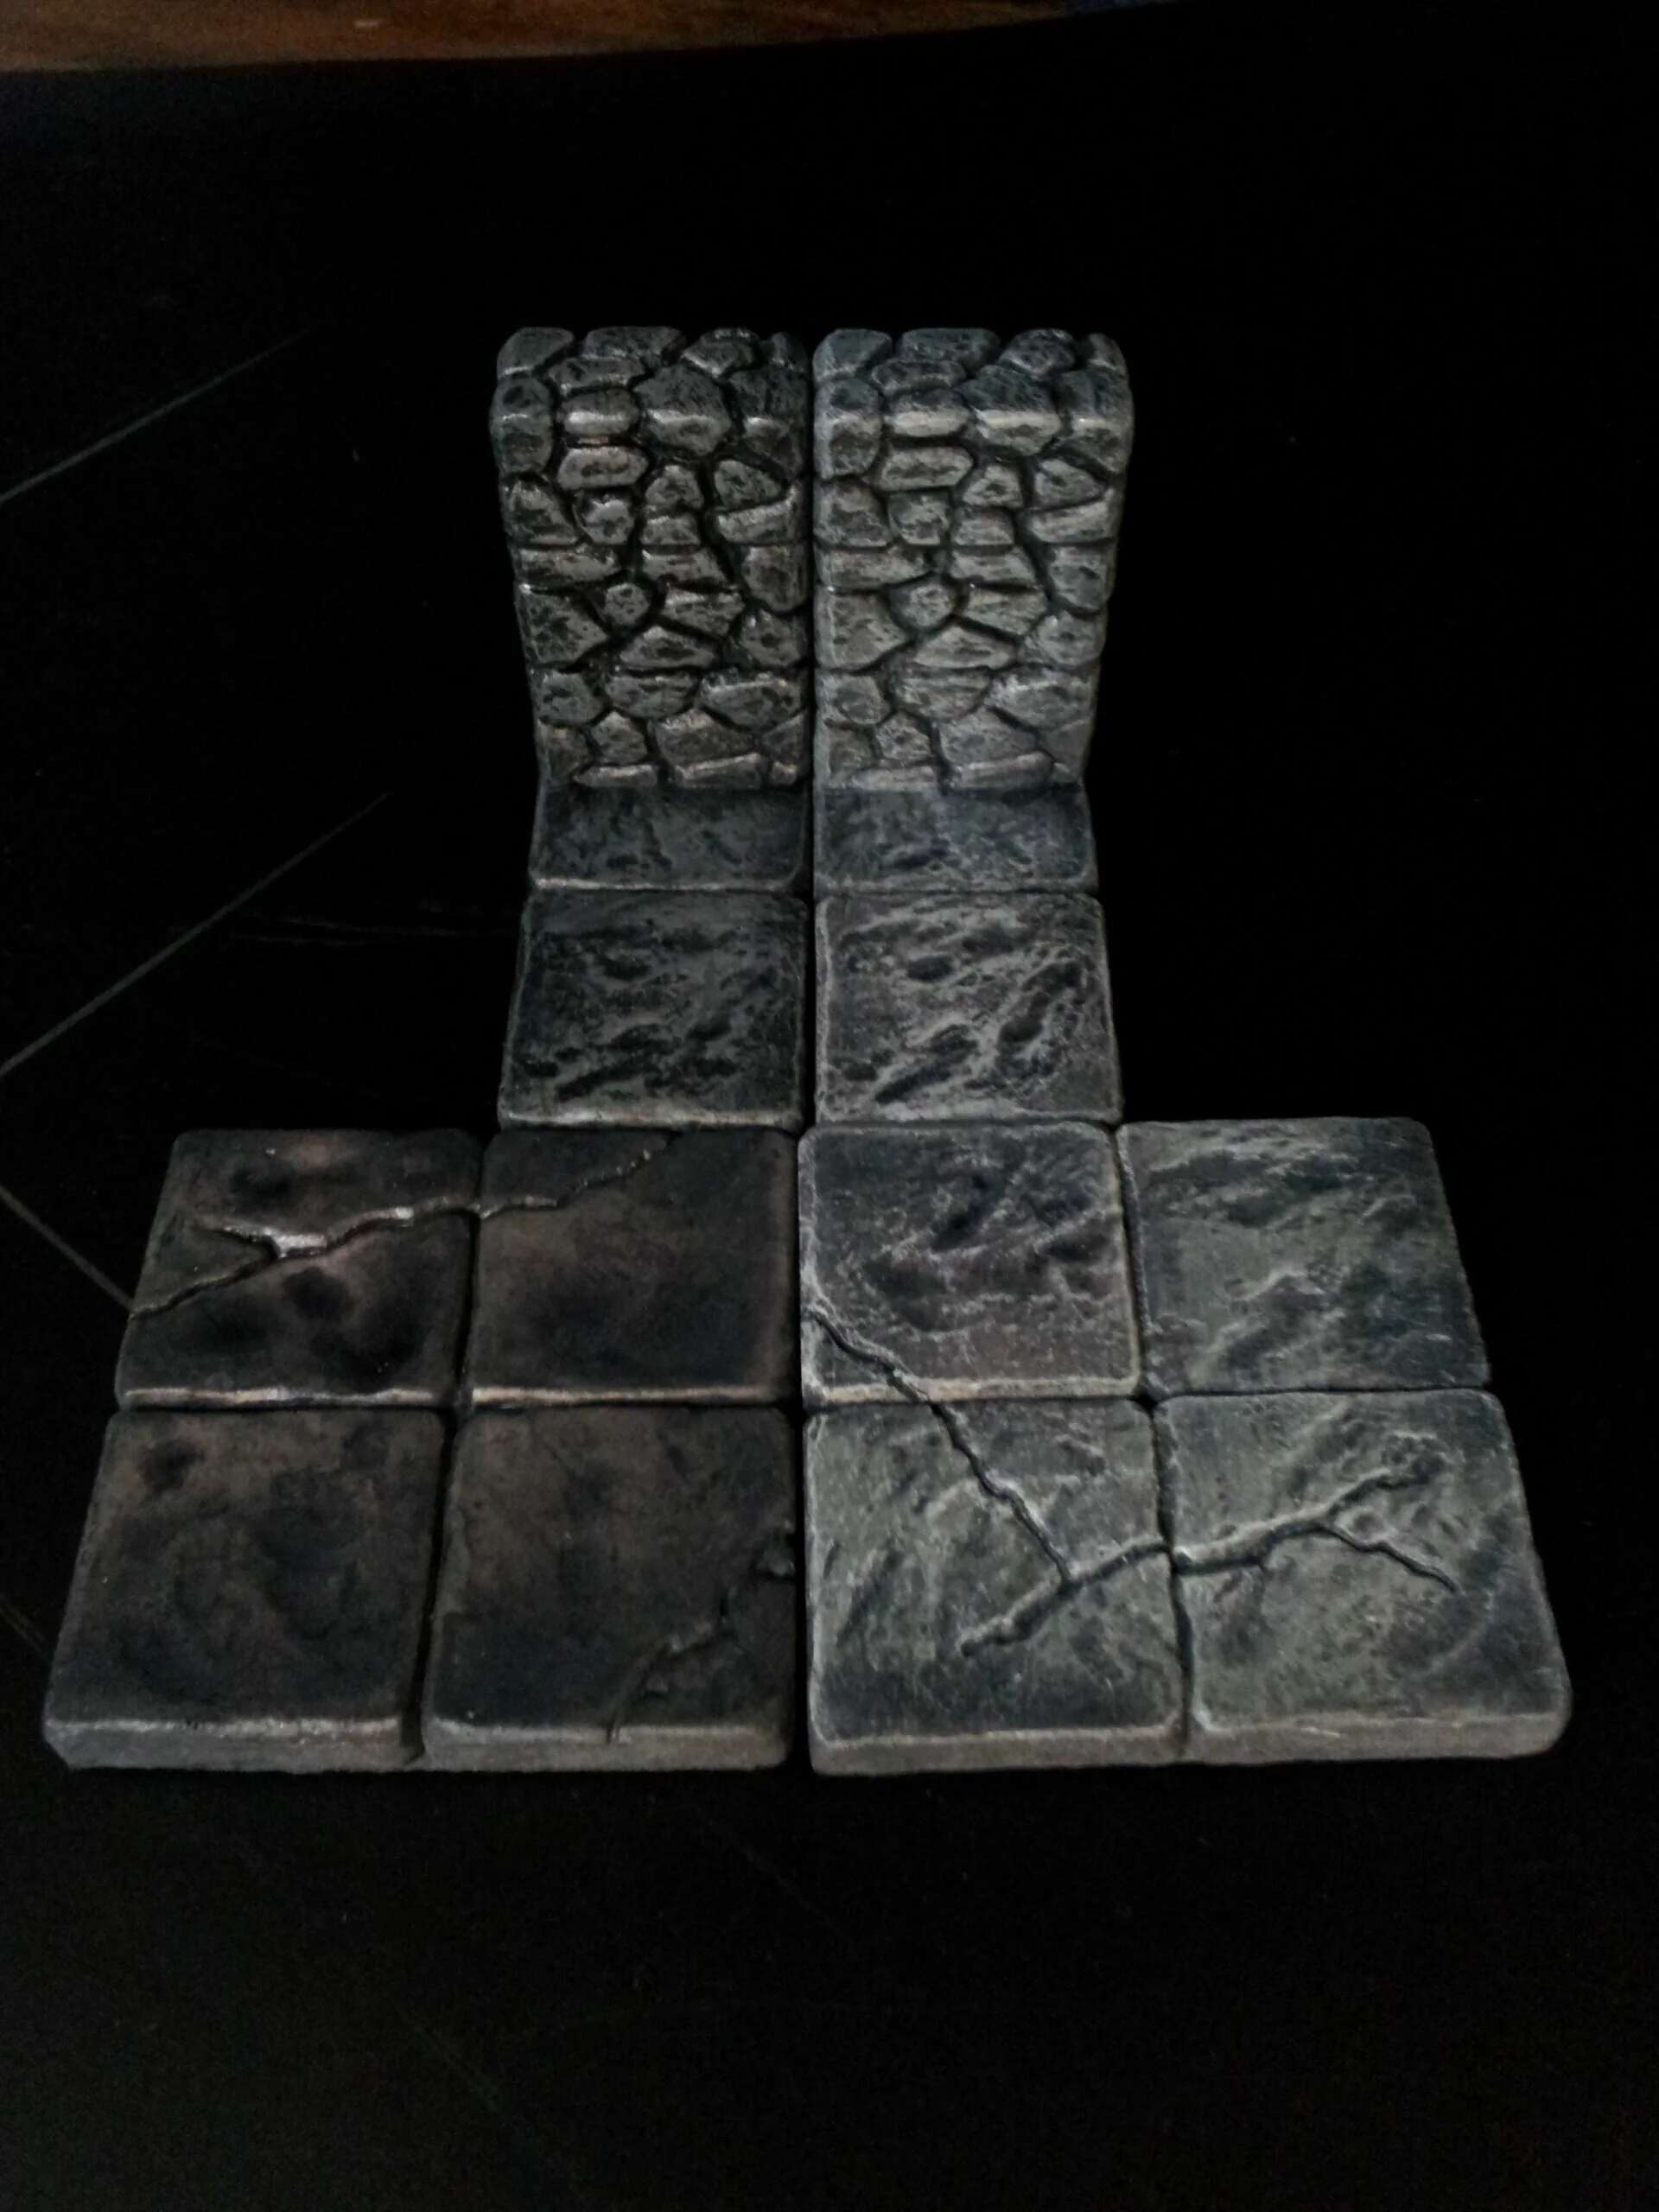
Third: HIGHLIGHT and CHOOSE your favorite

The above shows the three stages of highlights. Base only on bottom, with a medium dry brush middle and with a highlight dry brush on top.
Then I sprayed various versions:


Then I completed all of the pieces the same (sort of) way!

Added a mini to see how it looked.
Then I painted the magic circle in the Wizard's Chamber:

VOILA! (Sort of)
All in all, the process was done over the course of two days and between the Rise of the Cult of Nagfa project.
Some tips:
Allowing proper drying time is important so that you do not end up smearing the dry brush highlights. (found that out)
Do not seal the pieces until you reach a decision for the highlight scheme. (found that out)
You can still add highlights AFTER you seal. (yay! and PHEW!)
Seal EACH PIECE individually, meaning, do not lay them all out and just start spraying. Pay attention to the coverage of sealer (I used satin, by the way) on each facet of each piece, or you will have inconsistencies.
When you dry brush - DRY brush. Yes, it takes longer but gives better results. I used a $1 horse hair from Wal Mart. When I would brush, I would drag the brush hairs perpendicular to the grooves in the pieces to avoid getting highlights in the crevices.
When sealing, have a control piece (already sealed and dried) nearby to compare the level of spray for consistency. The same goes for dry brushing. (I wish I had thought of this while doing the dry brushing.)
Perhaps it is better to use WAX paper than paper towel, as the pieces tend to stick to the paper towel while drying.
I will add any other things I remember as I go on. I certainly hope that these methods and tips will help you in your future projects as well, until then, happy painting, and NEVER stop rolling the dice!
John F Kadolph